網樂通安裝X Window其實沒什麼用處,有點吃資源,不過好玩就好啦~做個筆記提供有興趣的朋友玩玩~
一開始你需要先安裝好 網樂通Debain ,可以參考
更換Kernel以及安裝modules
由於剛安裝好網樂通內建的Kernel好像沒有支援HDMI輸出,所以需要換成有支援的版本~由Chia-Cheng Huang大大釋出~
首先下載檔案回家並且解壓縮,再取代目前的核心~
root@debian-wheezy-sh4:~# <span style="color: #ff0000;">wget http://s1.becoder.org/nextvod/kernel_modules-stmfb-1003.tgz</span><br /> root@debian-wheezy-sh4:~# <span style="color: #ff0000;">tar -xvzf kernel_modules-stmfb-1003.tgz</span><br /> root@debian-wheezy-sh4:~# <span style="color: #ff0000;">cd kernel_modules-stmfb/</span><br /> root@debian-wheezy-sh4:~# <span style="color: #ff0000;">mkdir /lib/modules</span><br /> root@debian-wheezy-sh4:~# <span style="color: #ff0000;">tar -xvzf 2.6.32.59_stm24_0211-PDK7105-32BITS.tgz -C /lib/modules<br /> </span><span style="color: #ff99cc;">===================↓↓重要↓↓===================</span><br /> root@debian-wheezy-sh4:~# <span style="color: #ff0000;">cp vmlinux.ub / #取代核心<br /> </span>root@debian-wheezy-sh4:~# <span style="color: #ff0000;">mkdir /mnt/sda1/</span><br /> root@debian-wheezy-sh4:~# <span style="color: #ff0000;">mount /dev/sda1 /mnt/sda1</span><br /> root@debian-wheezy-sh4:~# <span style="color: #ff0000;">cp vmlinux.ub /mnt/sda1</span><br /> root@debian-wheezy-sh4:~# <span style="color: #ff0000;">depmod -a</span><br /> <span style="color: #ff99cc;">===================↑↑重要↑↑===================</span><br />
編輯/etc/modules:
root@debian-wheezy-sh4:~# <span style="color: #ff0000;">vi /etc/modules</span>
打開後應該會看到像這樣的畫面:
`# /etc/modules: kernel modules to load at boot time.
#
This file contains the names of kernel modules that should be loaded
at boot time, one per line. Lines beginning with "#" are ignored.
Parameters can be specified after the module name.`
按下i,貼上下面這段:
<span style="color: #ff0000;">stmfb display0=640x480-16@60:3M:0:PAL:RGB</span><br />
<span style="color: #ff0000;">stm_v4l2</span><br />
<span style="color: #ff0000;">stmcore-display-sti7105 hdmi0=enable</span><br />
<span style="color: #ff0000;">stmvbi</span><br />
<span style="color: #ff0000;">stmvout</span>
完成後應該會像這樣,可以輸入:wq作存檔動作~
`# /etc/modules: kernel modules to load at boot time.
#
This file contains the names of kernel modules that should be loaded
at boot time, one per line. Lines beginning with "#" are ignored.
Parameters can be specified after the module name.
stmfb display0=640x480-16@60:3M:0:PAL:RGB
stm_v4l2
stmcore-display-sti7105 hdmi0=enable
stmvbi
stmvout`
重新開機一下~
root@debian-wheezy-sh4:~# <span style="color: #ff0000;">reboot</span>
可以接上HDMI囉!!
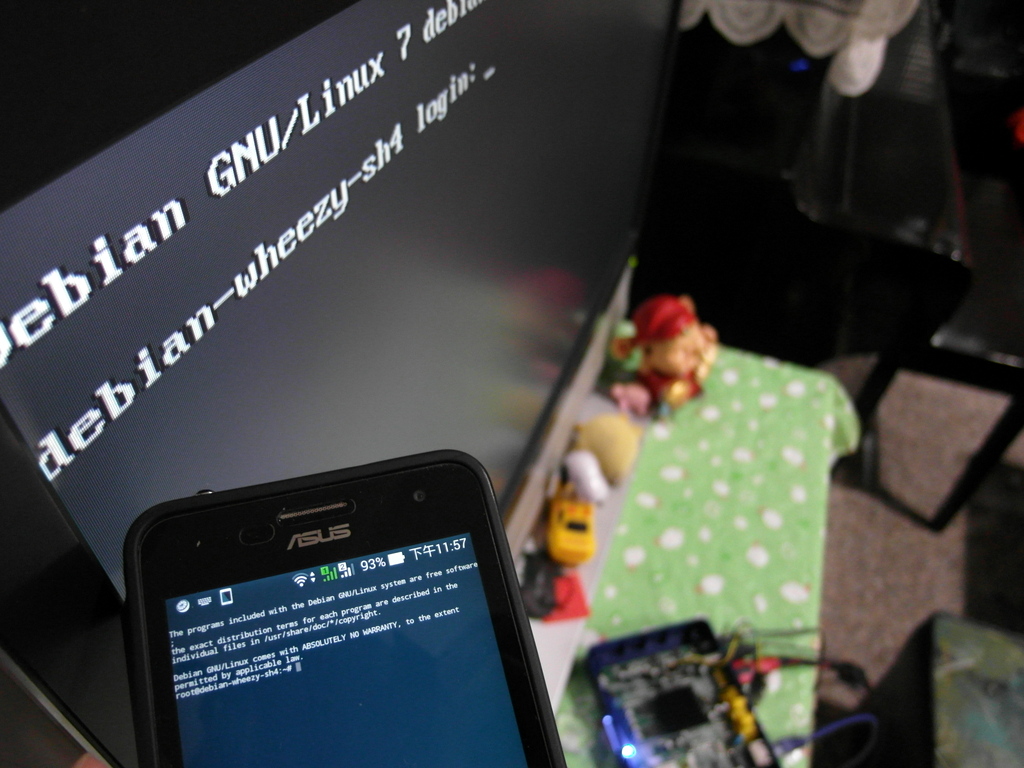
網樂通HDMI Console
更新套件庫&升級程式
[更新4/12]剛剛發現 apt repositry 改了,請作以下修改,否則將無法安裝新的軟體
將原本的
deb http://ftp.yzu.edu.twdebian-sh4/ wheezy all
改為
deb http://ftp.yzu.edu.tw/Linux/debian-sh4-for-nextvod/ wheezy all
安裝任何程式的第一步都是先更新一下套件庫以確保最新的來源:
root@debian-wheezy-sh4:~# <span style="color: #ff0000;">apt-get update</span>
更新一下程式也好,不然漏洞有點多(Bash漏洞以及GHOST漏洞)
root@debian-wheezy-sh4:~# <span style="color: #ff0000;">apt-get upgrade</span>
安裝LXDE
更新好了以後~就可以來安裝LXDE了~檔案有點多,大概300MB需要一點時間
root@debian-wheezy-sh4:~# <span style="color: #ff0000;">apt-get install xorg xserver-xorg lxde-core #需要一點間,有問答請選Y</span>
裝好之後需要編輯~/.xinitrc:
root@debian-wheezy-sh4:~# <span style="color: #ff0000;">vi ~/.xinitrc</span>
按下i,新增這行後按下:wq存檔:
<span style="color: #ff0000;">exec ck-launch-session startlxde</span>
修改一下 /etc/hosts,新增一行127.0.0.1 debian-wheezy-sh4:
127.0.0.1 localhost<br /> ::1 localhost ip6-localhost ip6-loopback<br /> fe00::0 ip6-localnet<br /> ff00::0 ip6-mcastprefix<br /> ff02::1 ip6-allnodes<br /> ff02::2 ip6-allrouters
新增一行127.0.0.1 debian-wheezy-sh4
127.0.0.1 localhost<br /> <span style="color: #ff0000;">127.0.0.1 debian-wheezy-sh4</span><br /> ::1 localhost ip6-localhost ip6-loopback<br /> fe00::0 ip6-localnet<br /> ff00::0 ip6-mcastprefix<br /> ff02::1 ip6-allnodes<br /> ff02::2 ip6-allrouters
接上HDMI螢幕,啟動LXDE~
root@debian-wheezy-sh4:~# <span style="color: #ff0000;">startx</span>
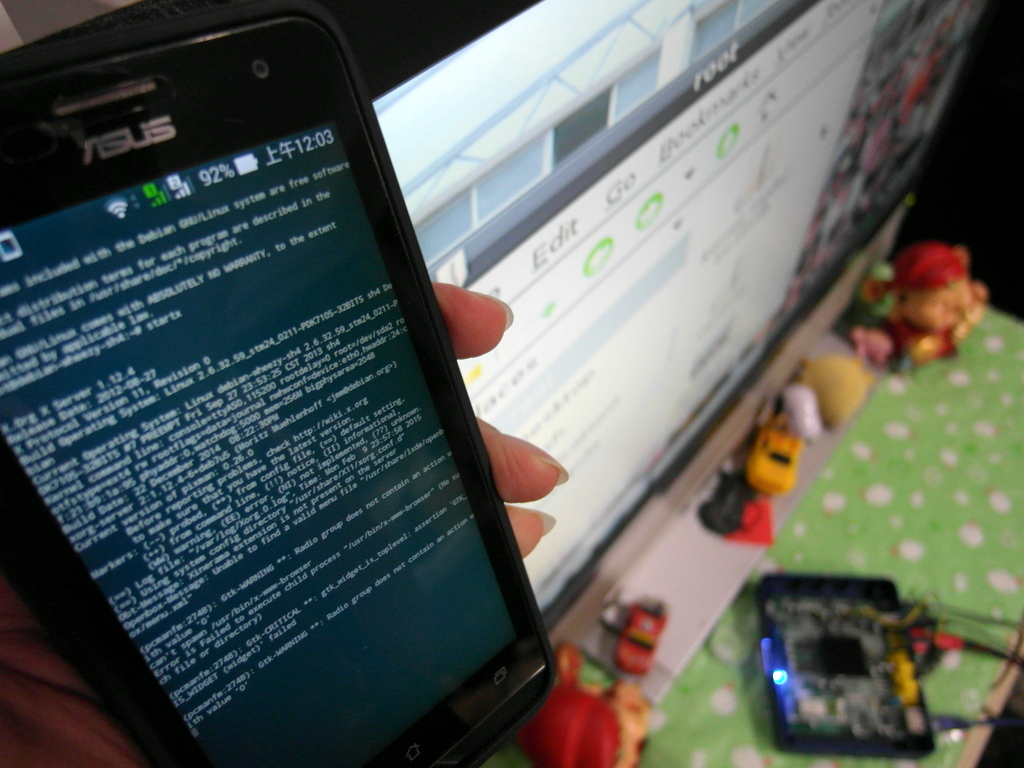
網樂通HDMI LXDE